materials
Size H crochet hook
Two colors worsted weight yarn:
- Primary yarn: 90 grams/171 yds/156 m Worsted Weight
- Accent yarn: 15 grams/29 yds/27 m Worsted Weight
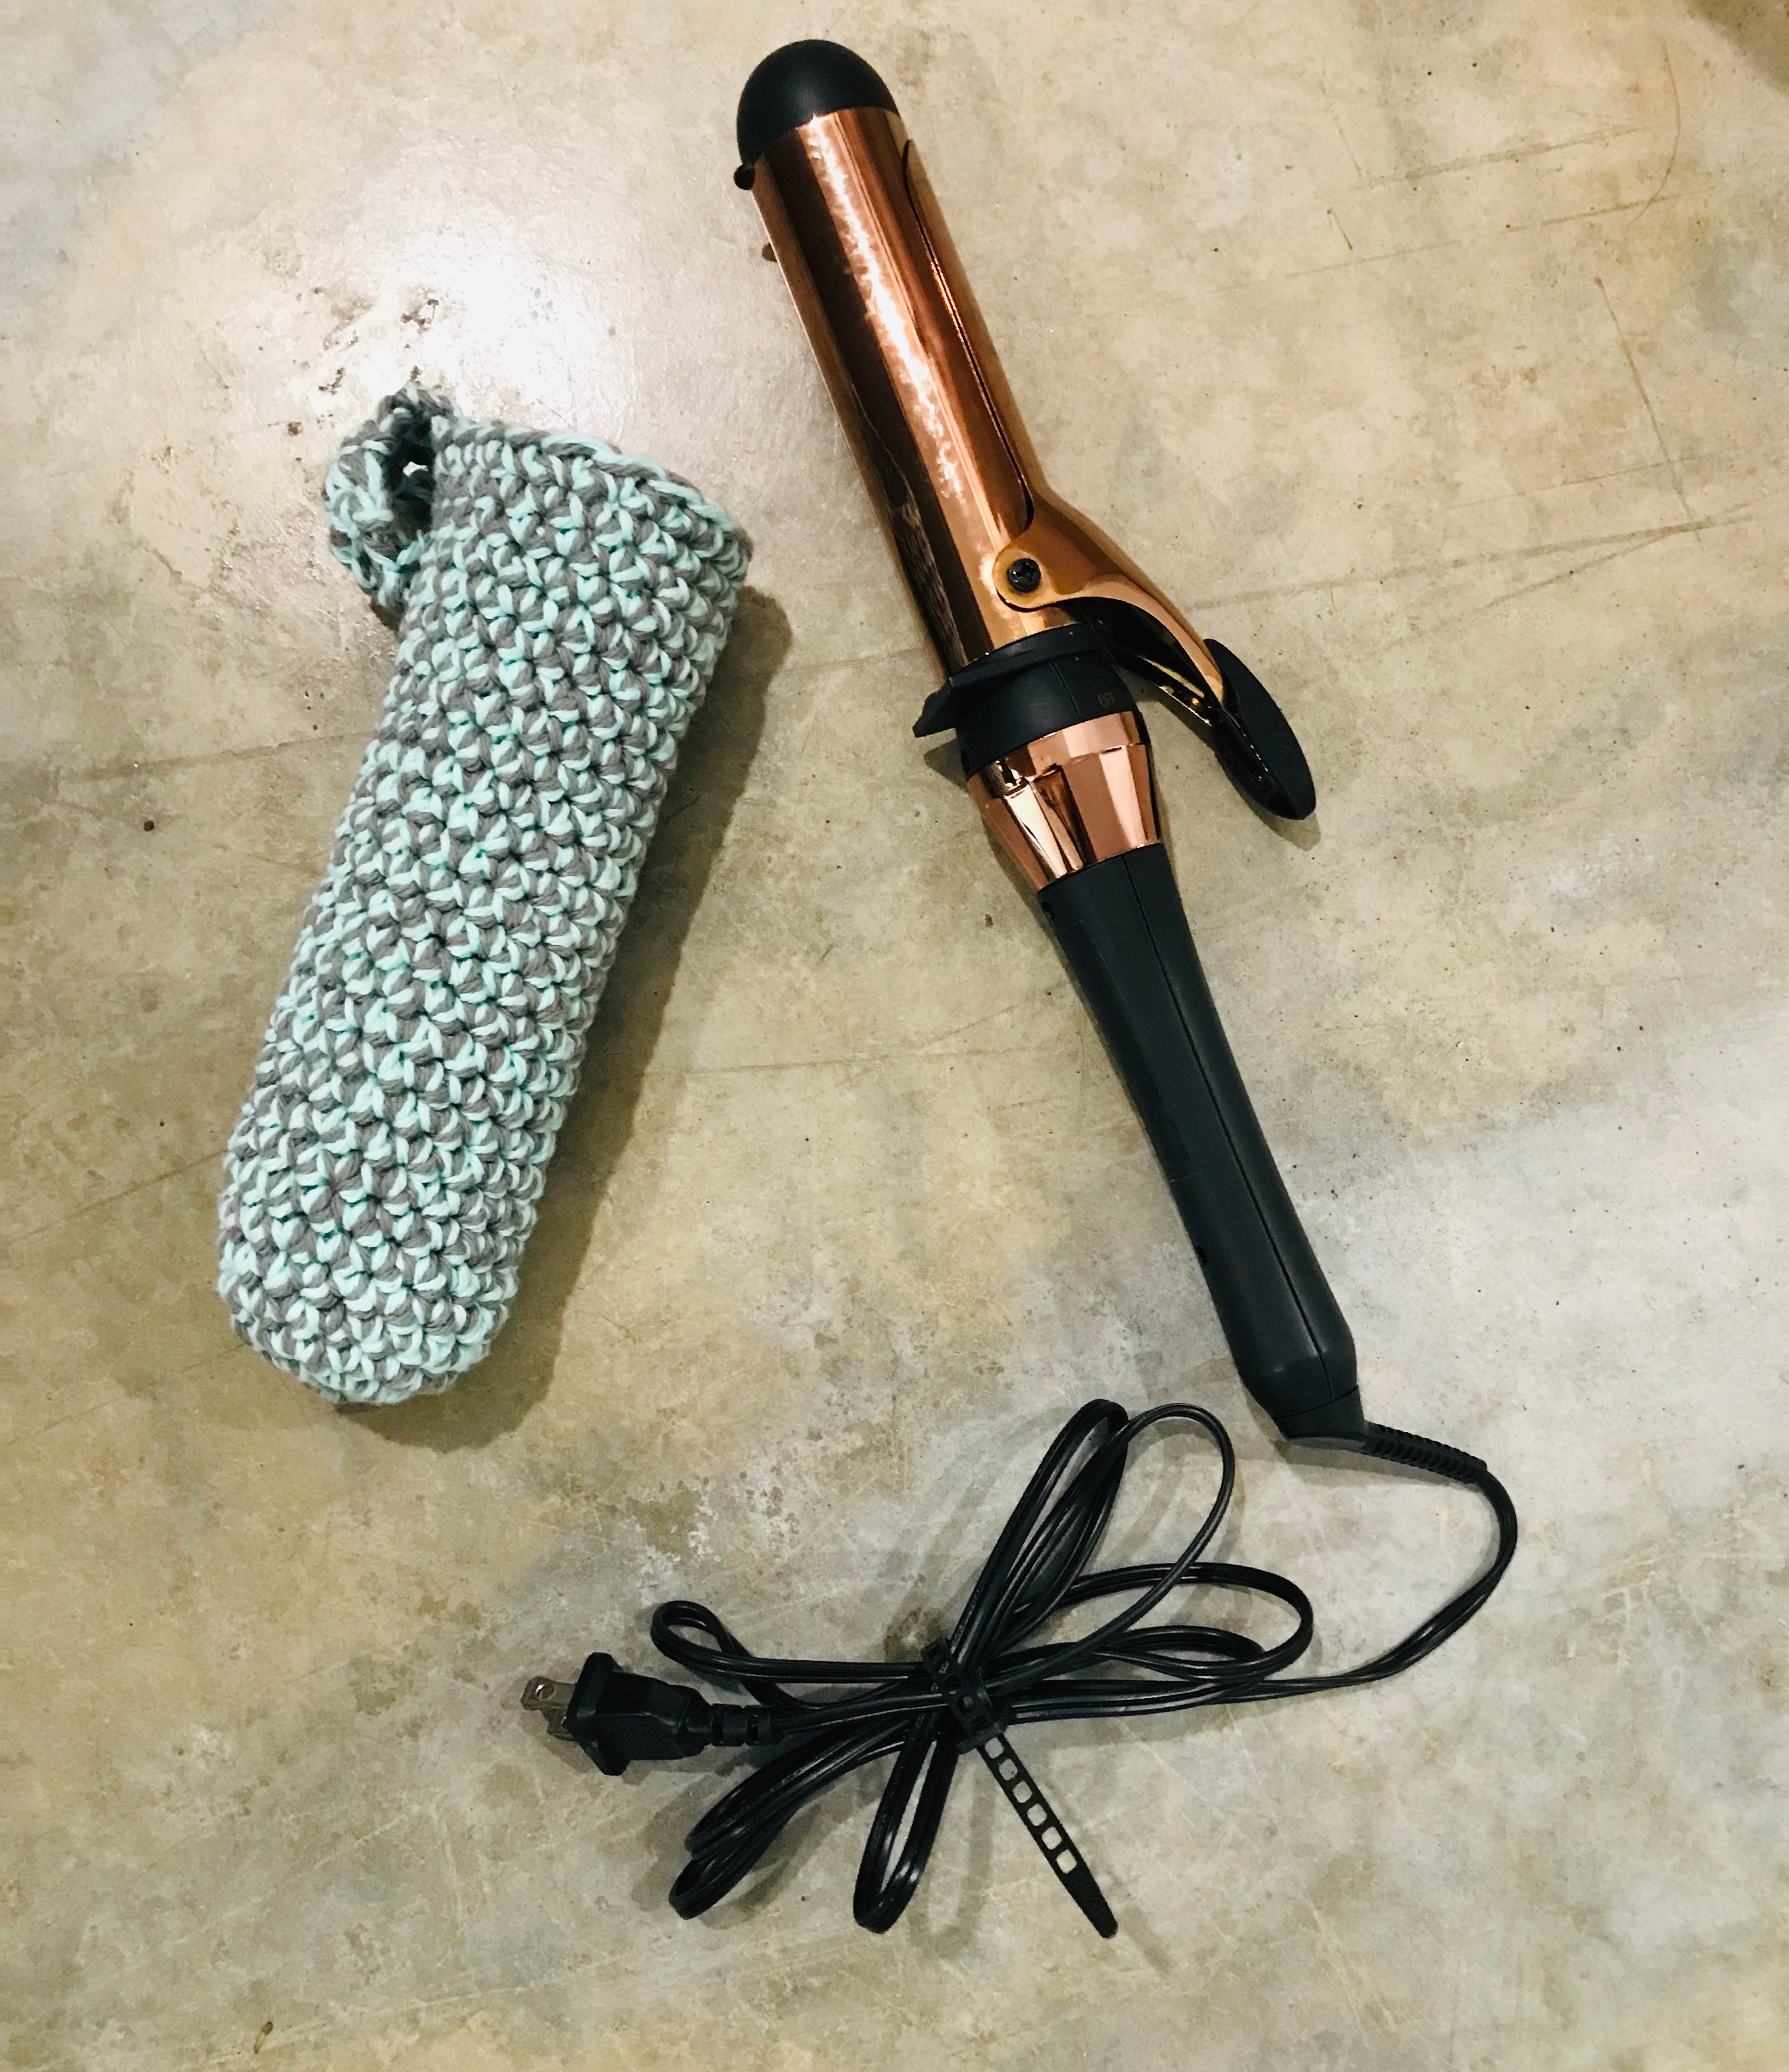
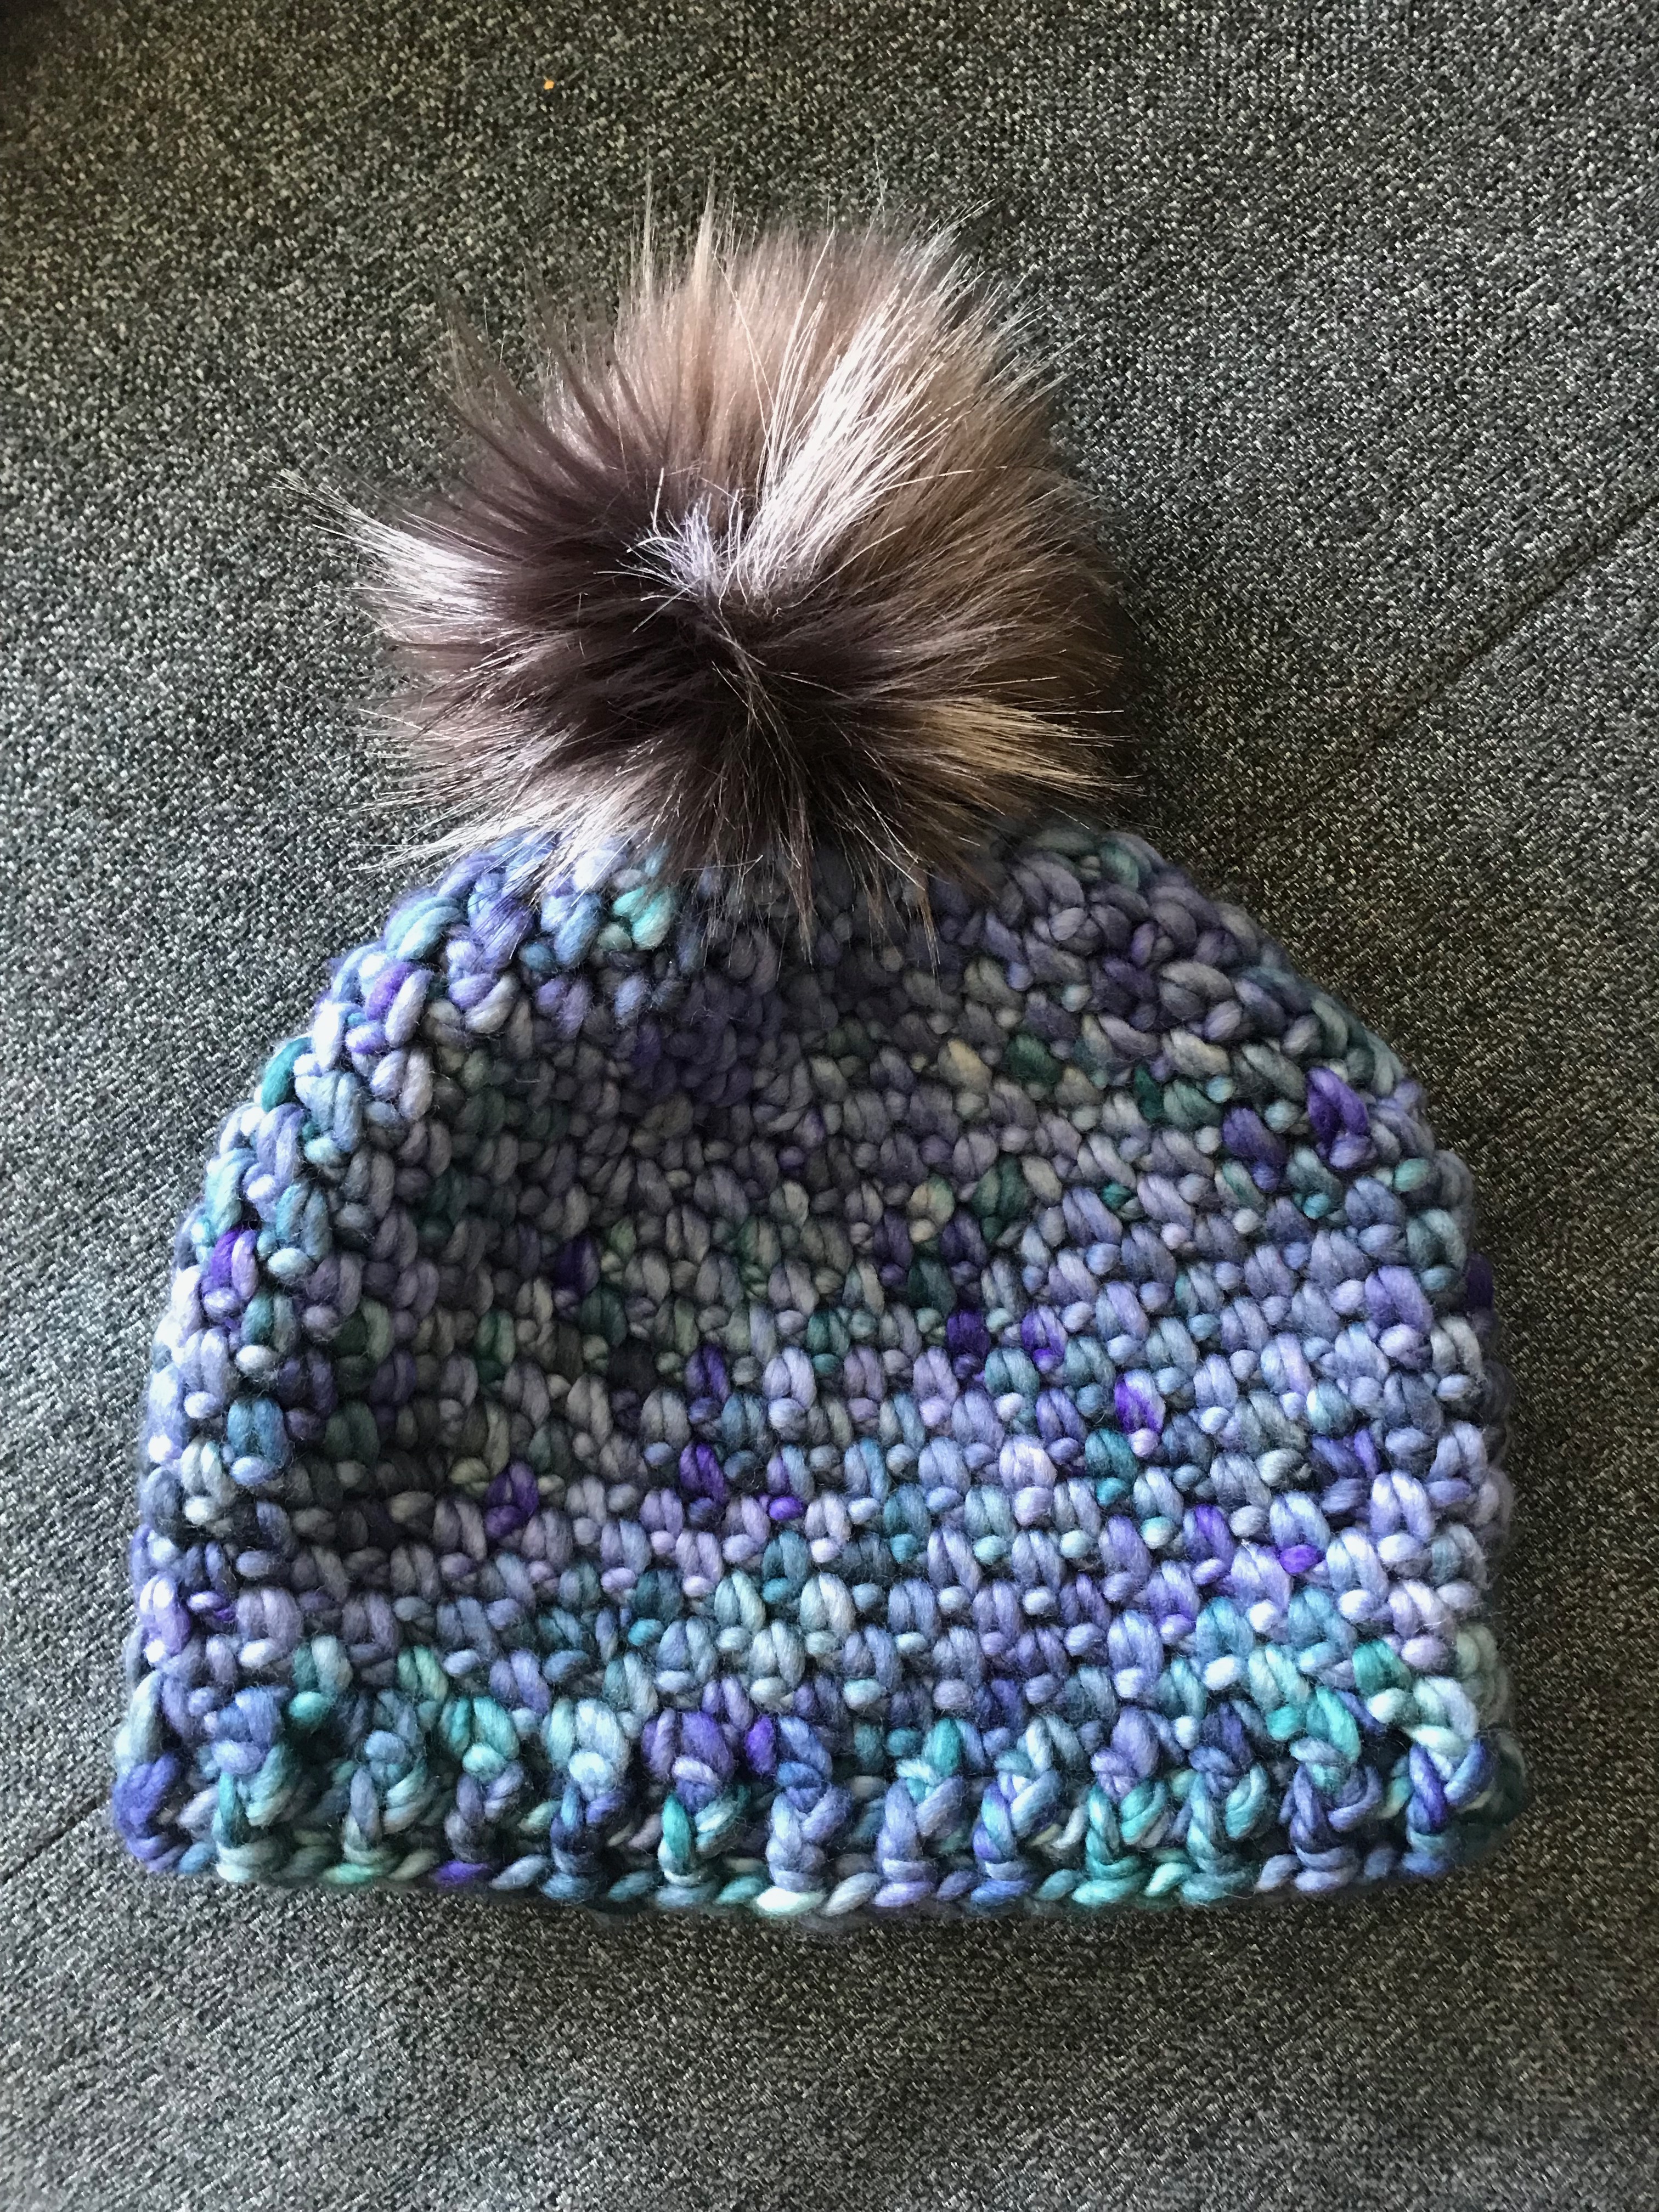
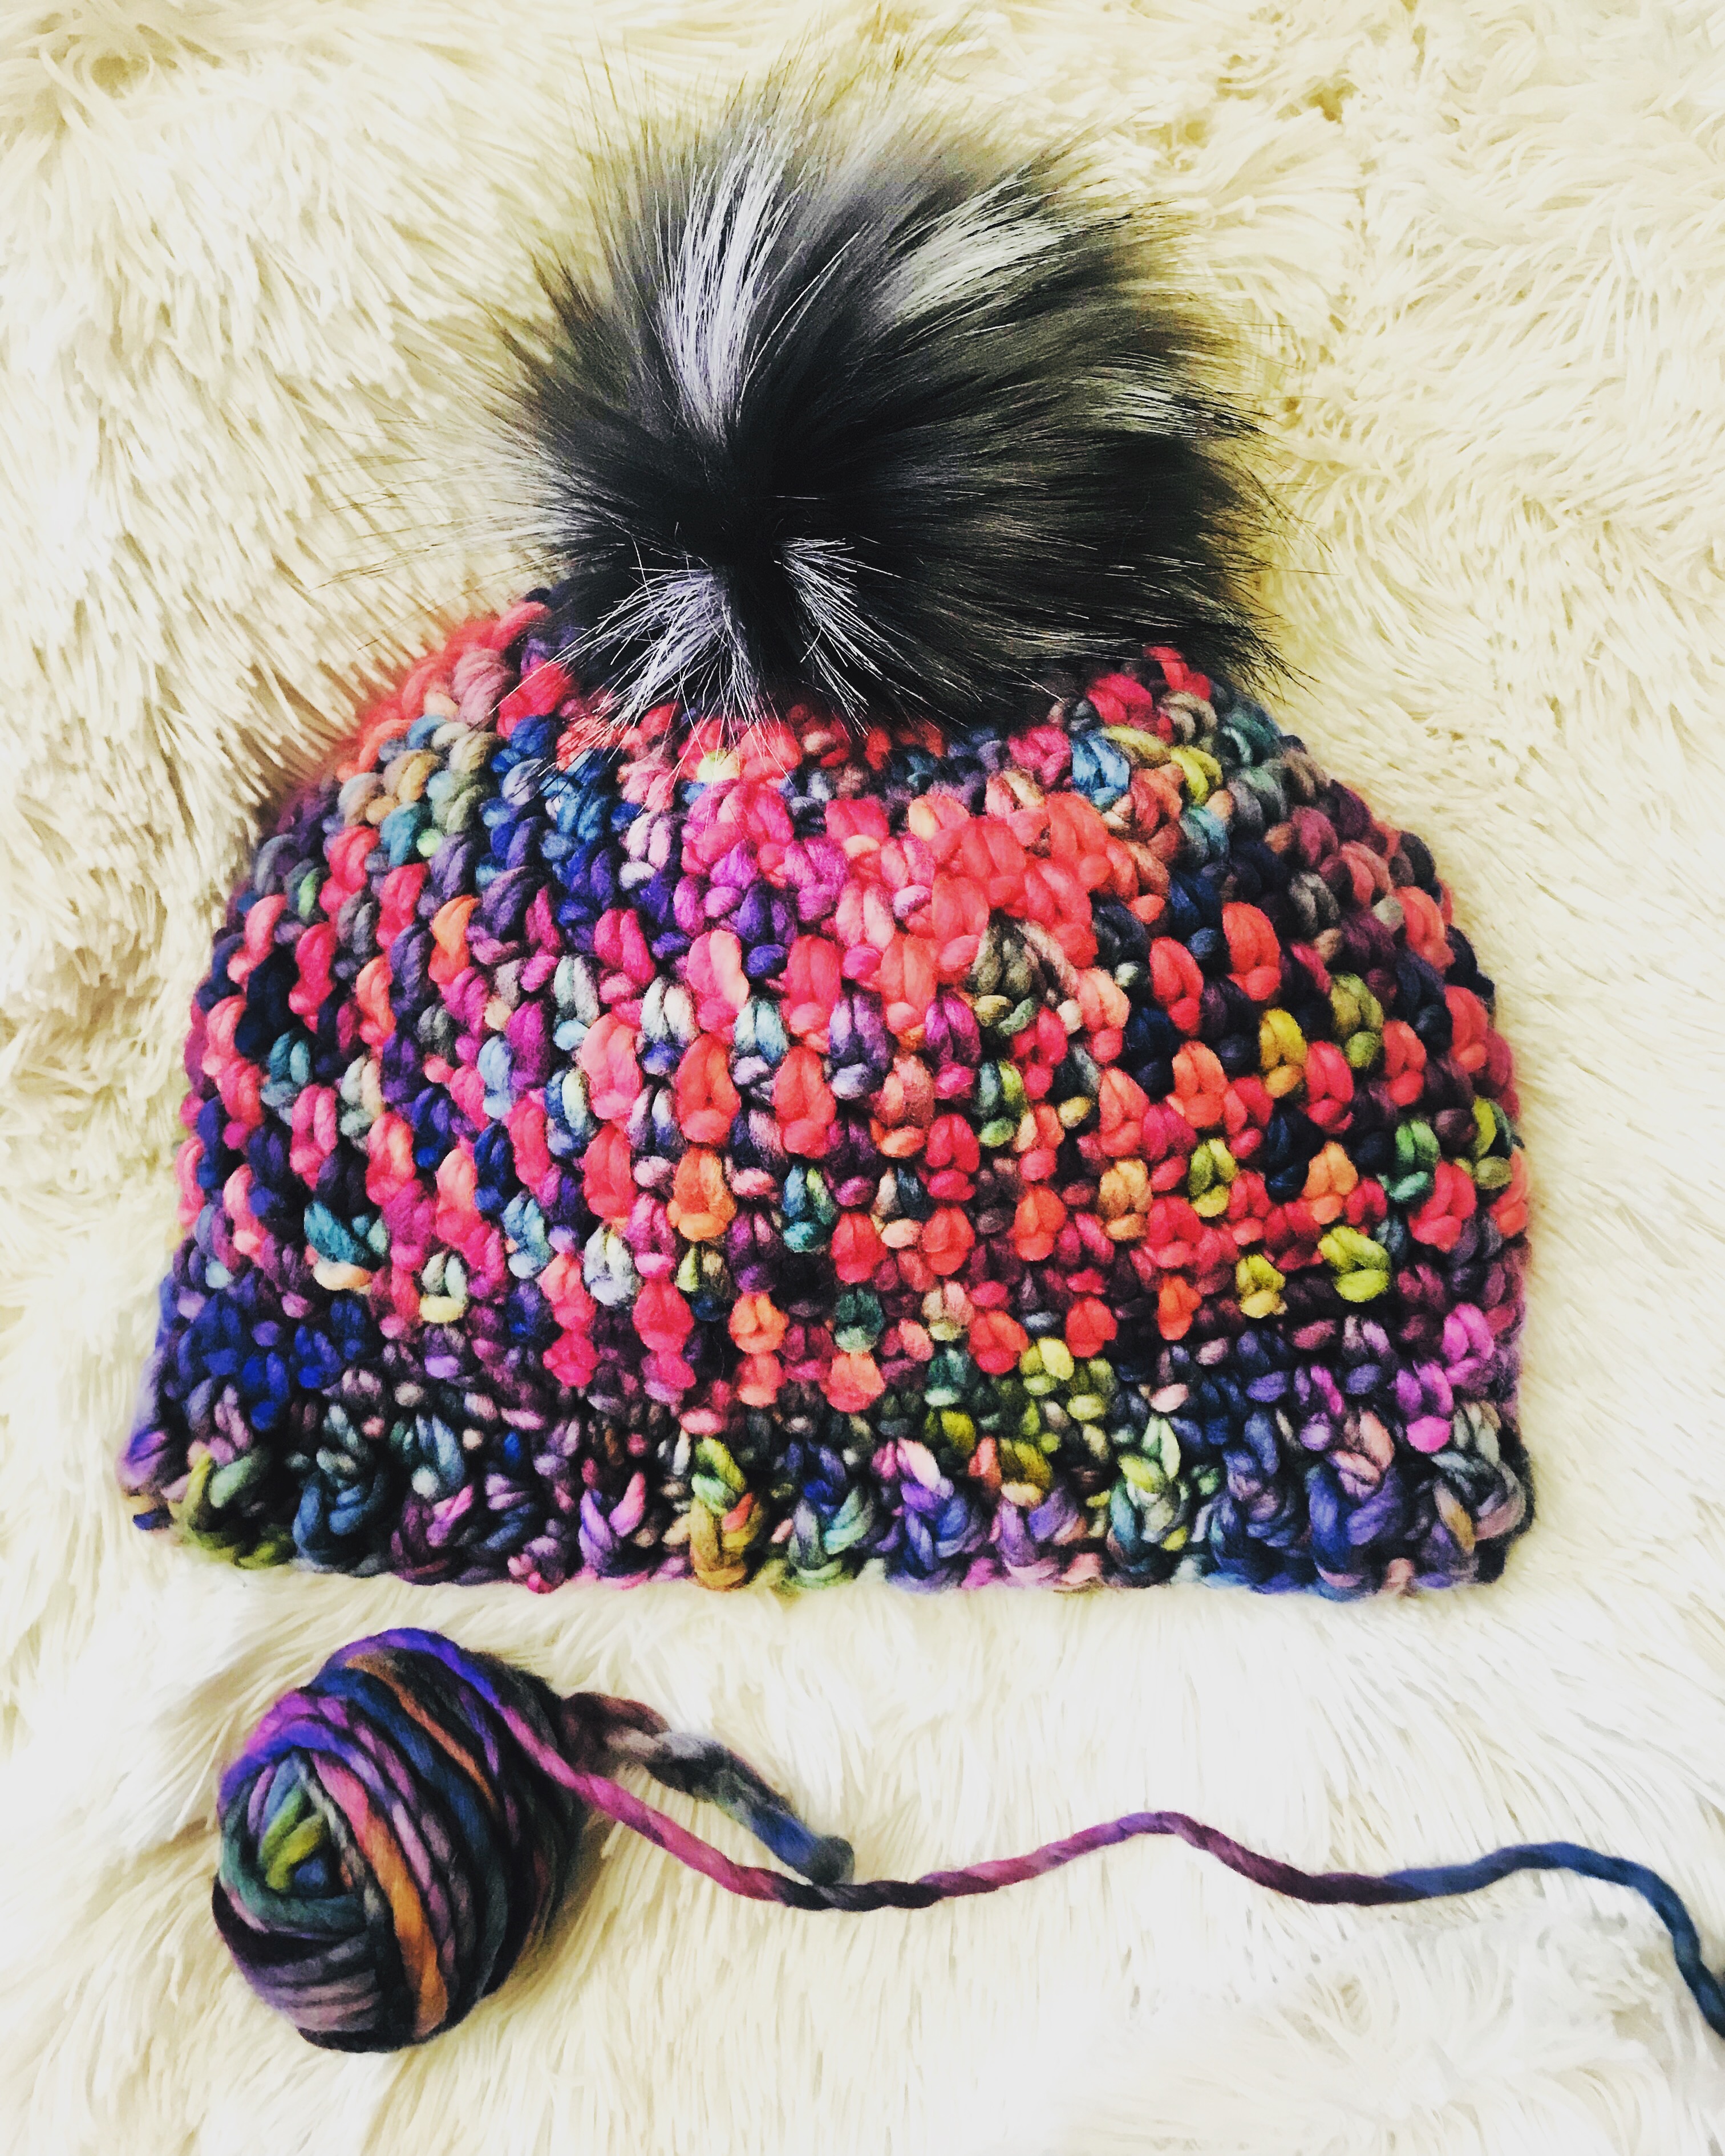
Note: featured yarns in this project include Big Twist Premium in Teal and Raven, and Big Twist Sincerely in Cupcake Confetti and Red.
I refer to the yarn for the edging and in between popcorn rows as the ACCENT yarn. The yarn that is used for the popcorn stitches of the main body is the PRIMARY yarn.
key
ch – chain
sp – space
sc – single crochet
dc – double crochet
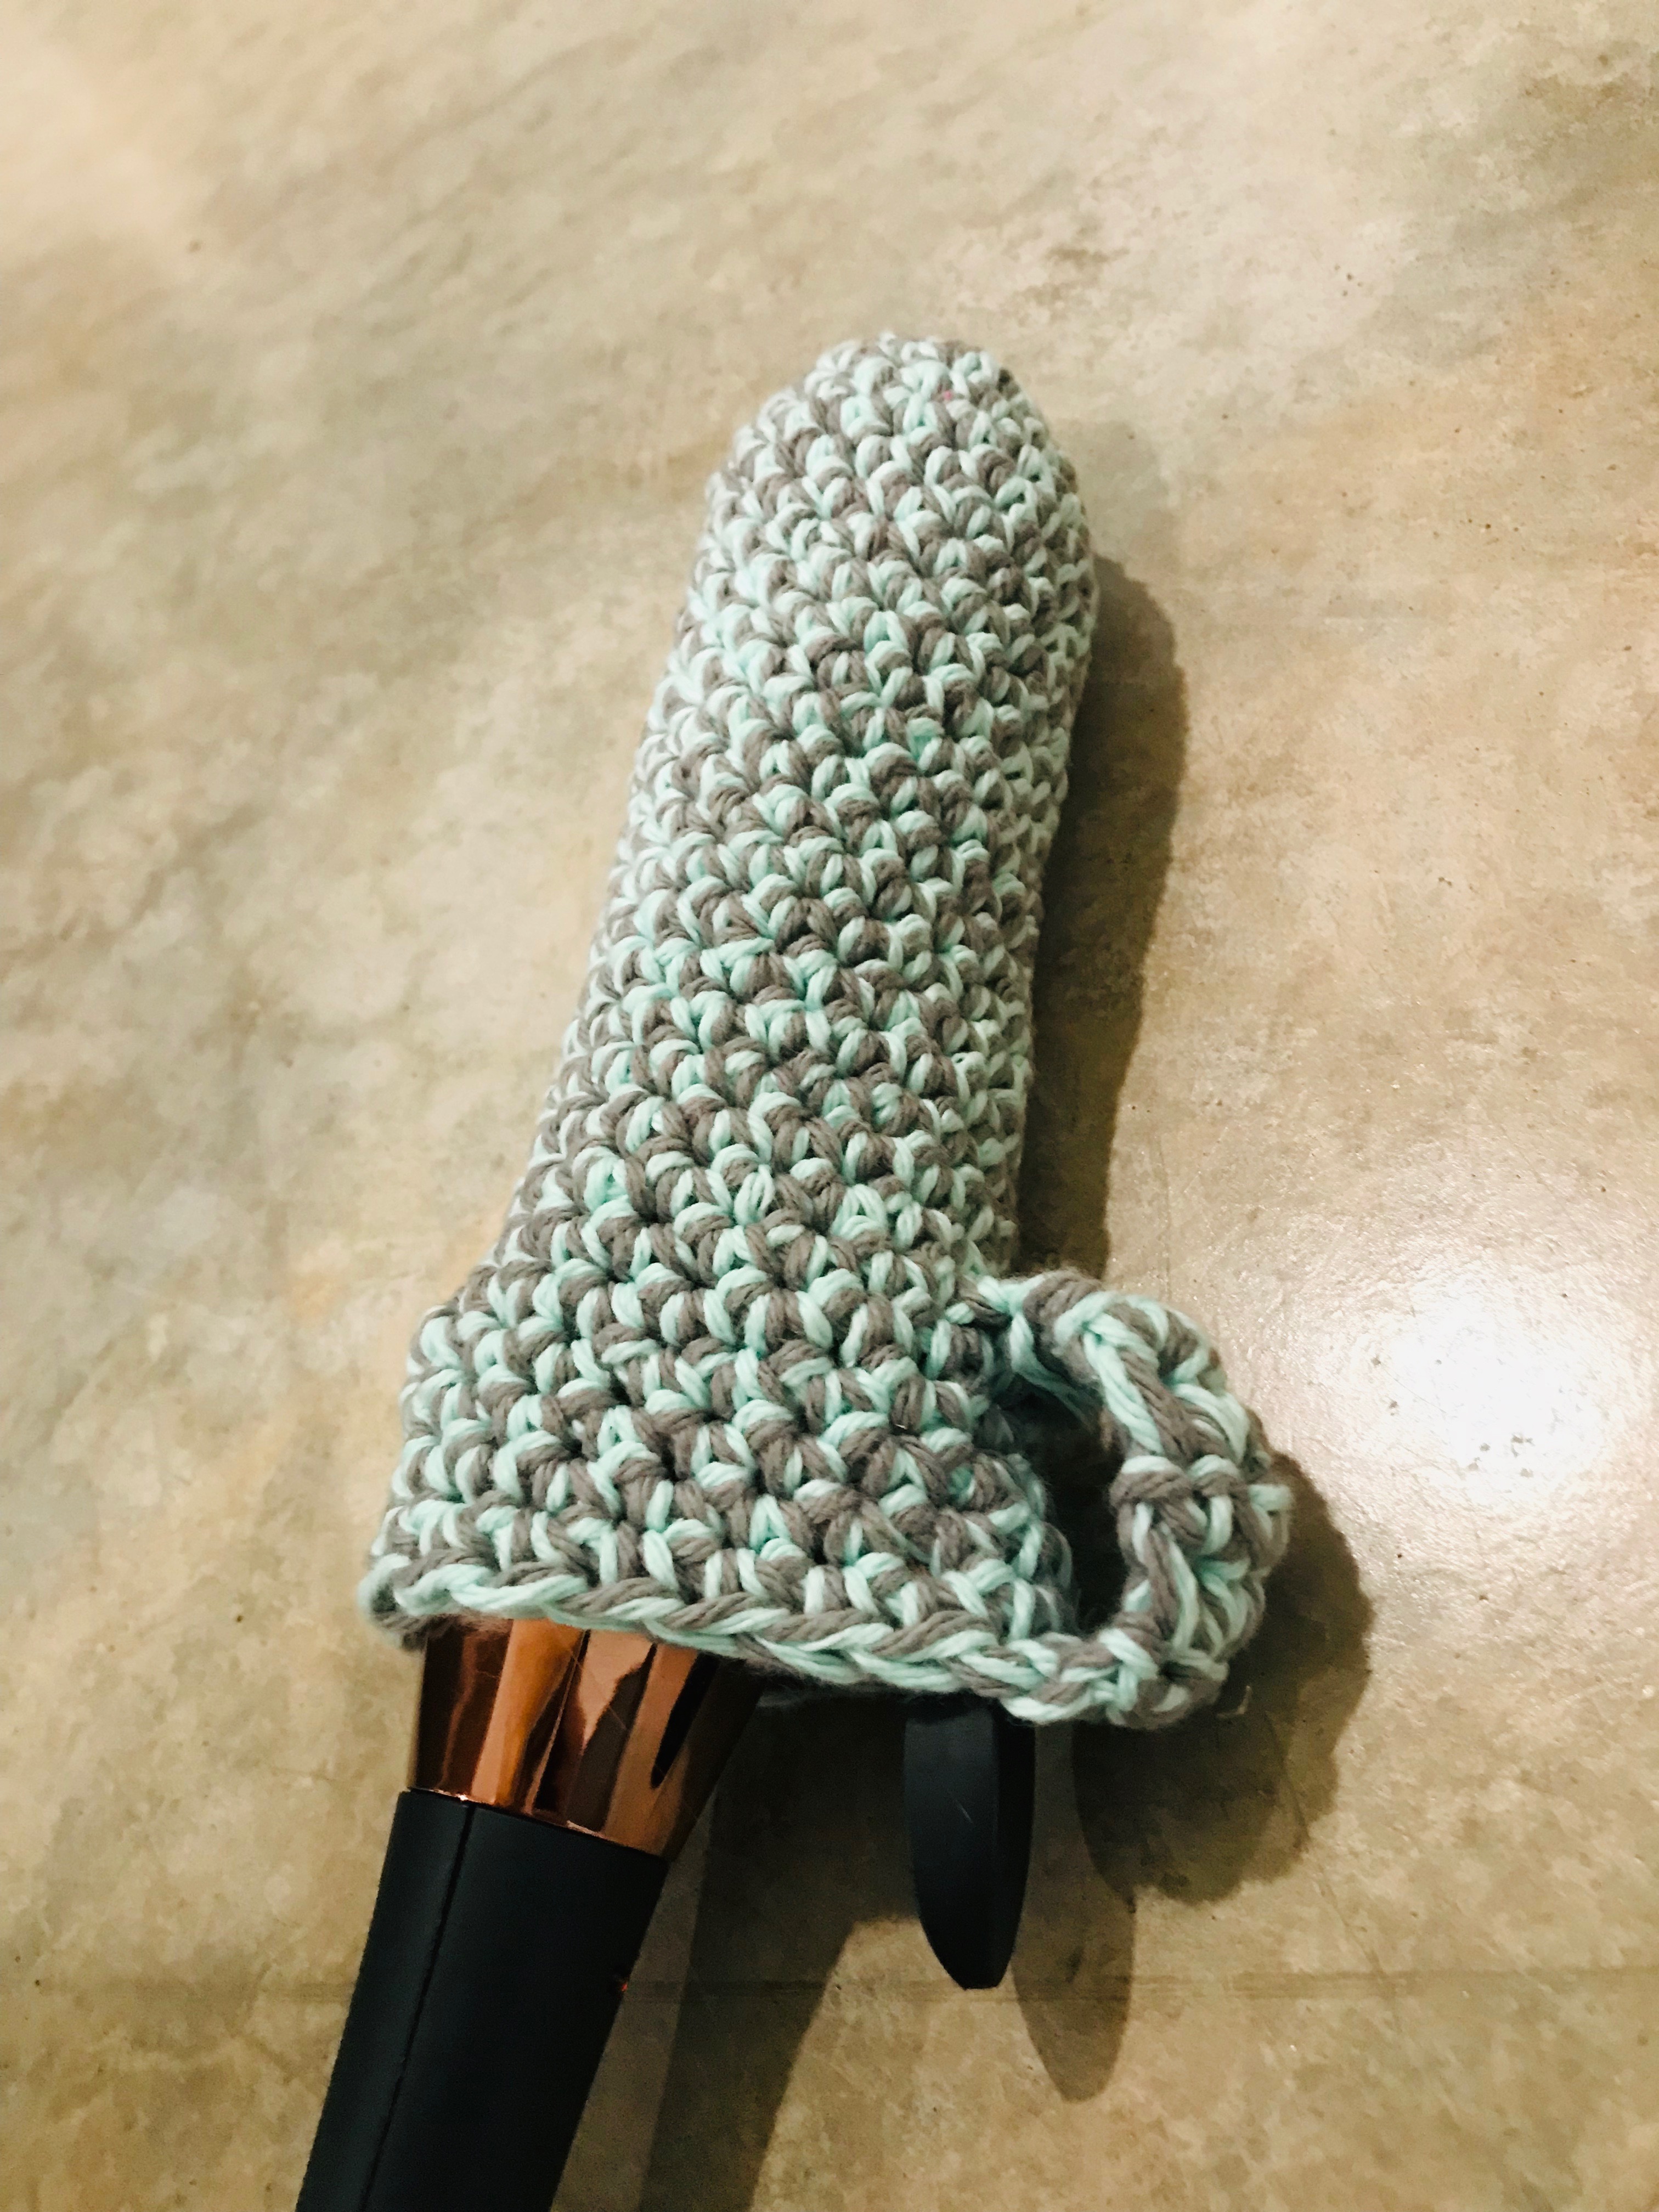
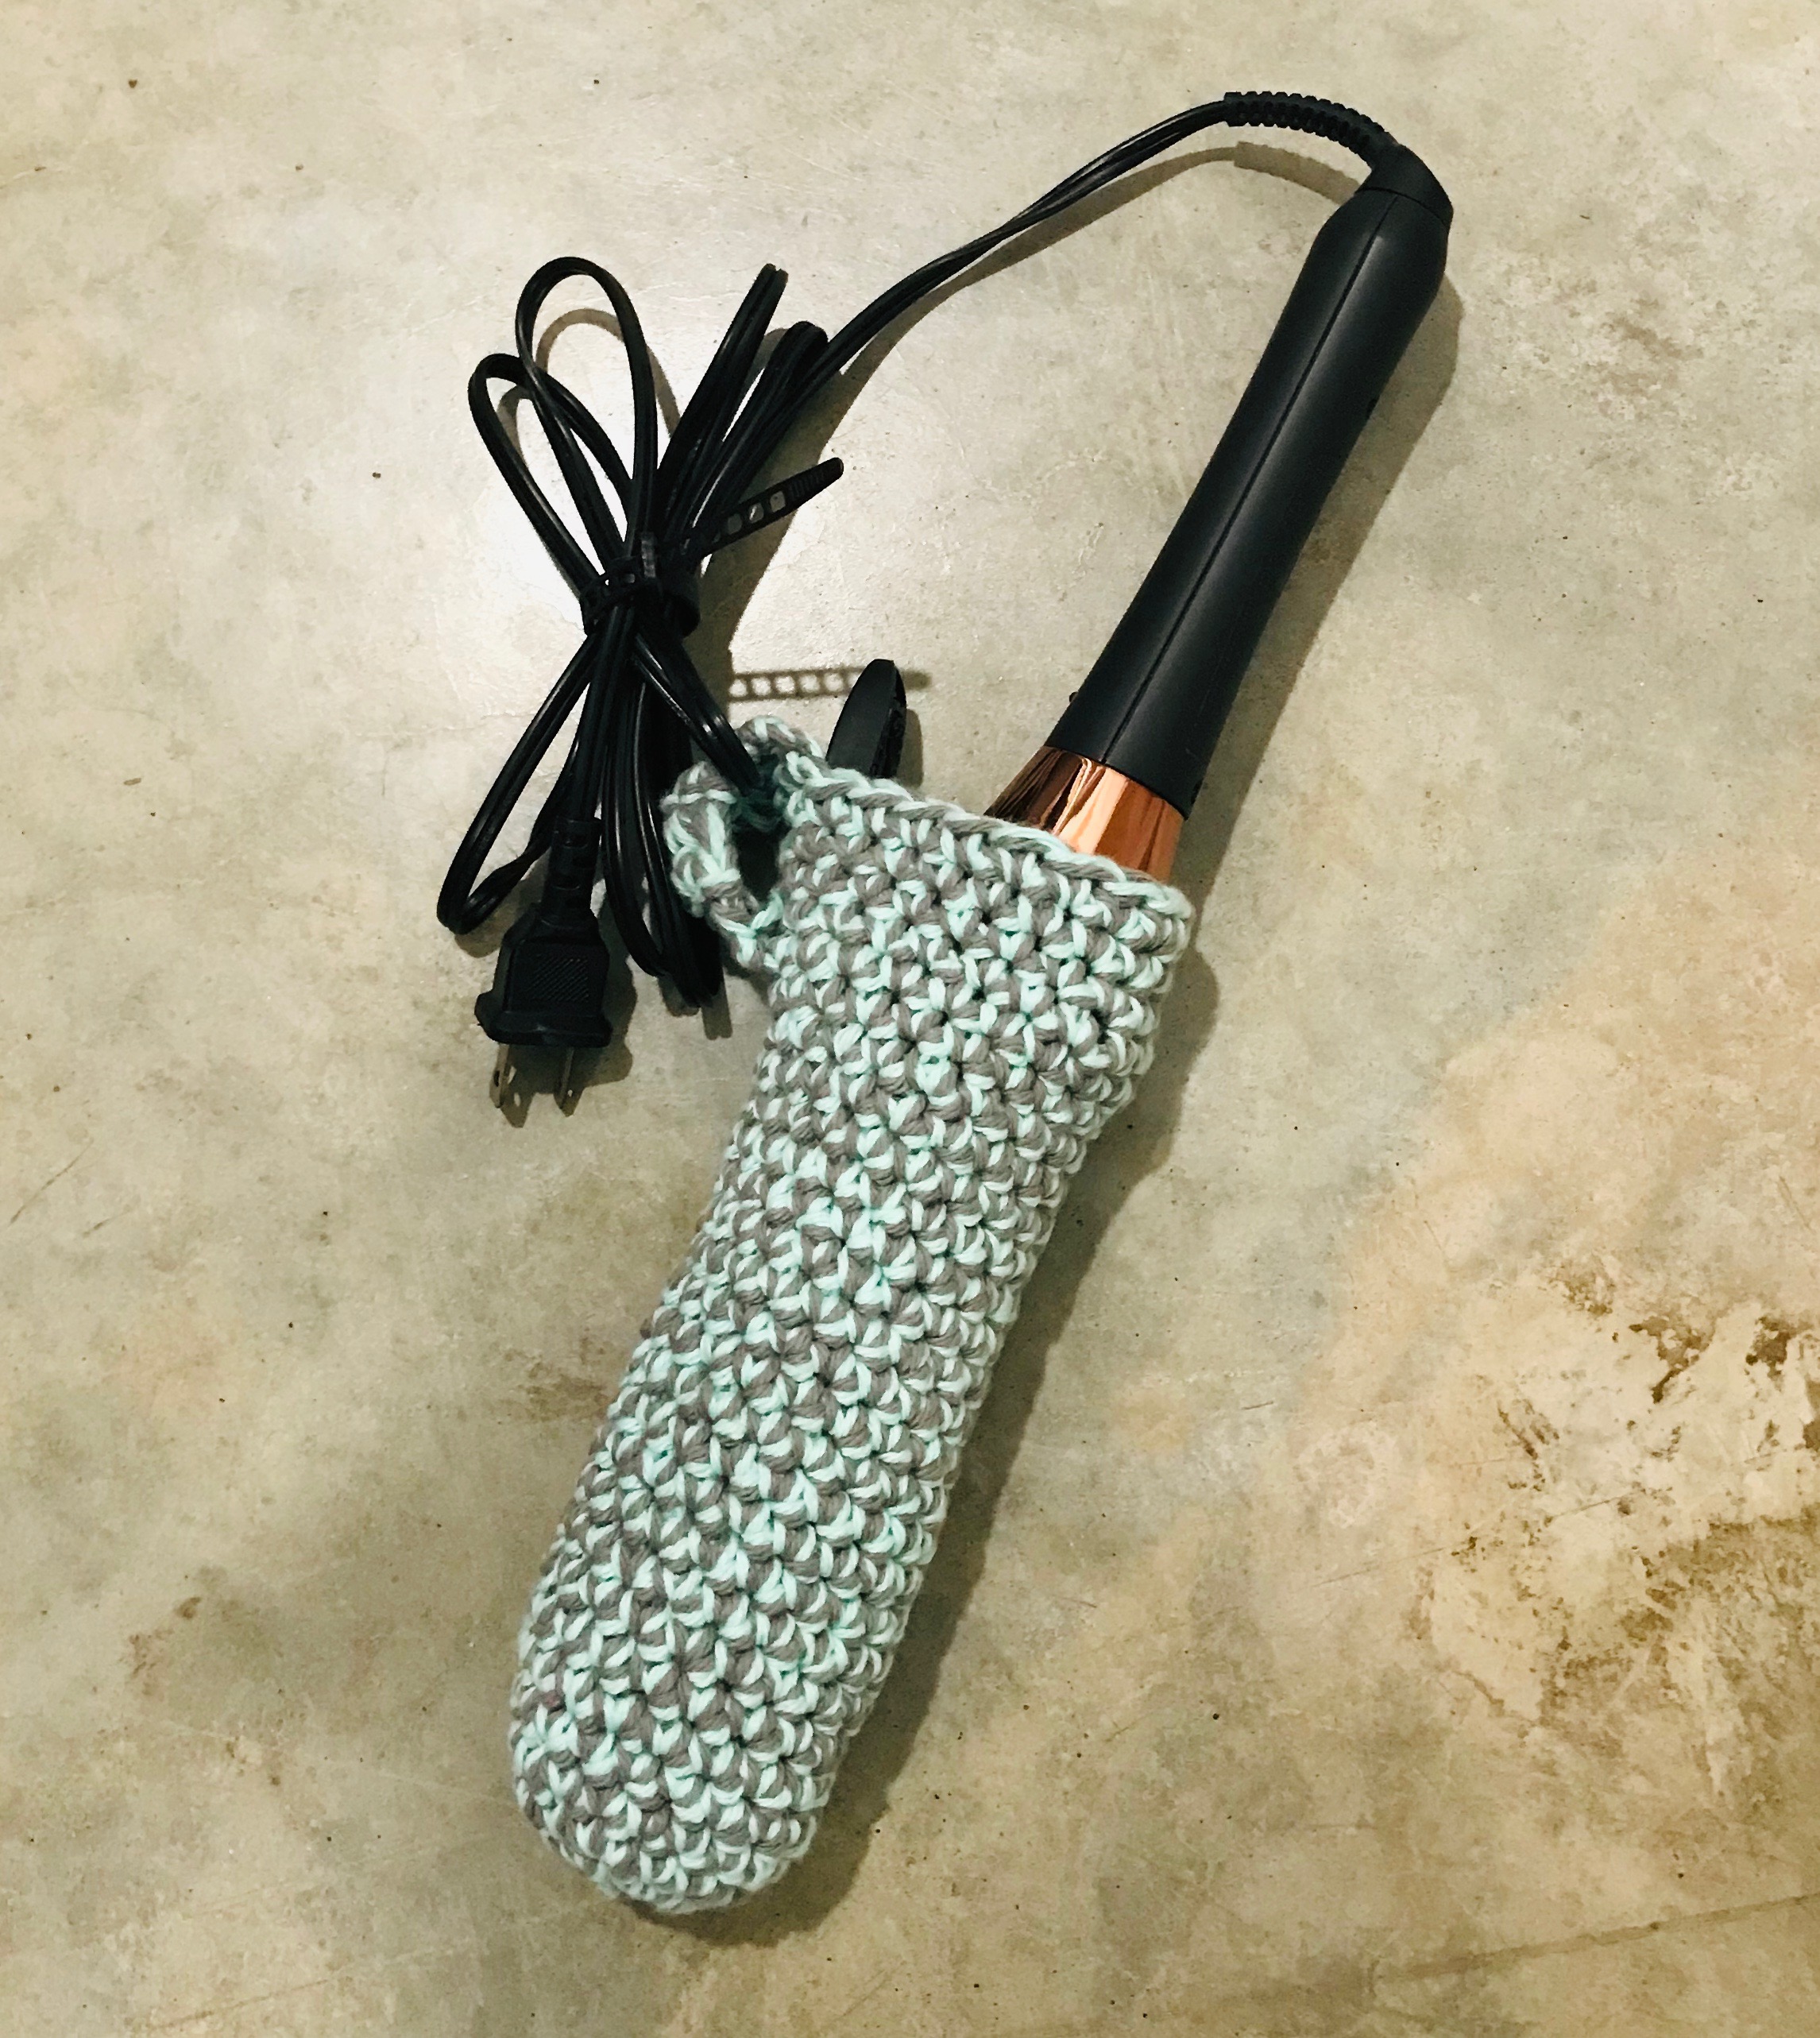
pattern
While working the moss stitch in the round, it can be a bit tricky to keep your stitch counts consistent. It was most helpful for me to count the only the sc around (should be half the number of your starting chain) to keep on track. You will alternate moss stitch rows beginning your single crochet in the ch space immediately next to your hook, and the second ch sp from your hook.
START:
Begin with accent color and ch 92, sl st to join round.
ROW 1:
ch 2 (counts as first sc/ch), sc in 2nd ch from hook (make sure you are not counting the ch you just sl st into), ch 1, sk next st, *sc 1, ch 1, sk next st, repeat from * around, sl st to join.
you should have 46 of the [sc, ch1] motif
ROW 2:
ch 1 to start, sc in first ch space, ch 1, *sc in next ch sp, ch 1, repeat from * around, ending on a ch, then slip st into the first sc of row to join
ROW 3:
switch to primary color, pull new yarn through loop (counts as 1 ch), ch 1, sc into 2nd ch sp from hook, *ch 1, sc into next ch sp, repeat from * around, ending on a sc, then sl st into the starting ch 2 to join.
no need to cut yarn and weave in ends, just carry along back of work
ROWS 4, 5:
repeat instructions for rows 2 and 3 in accent color only
ROW 6:
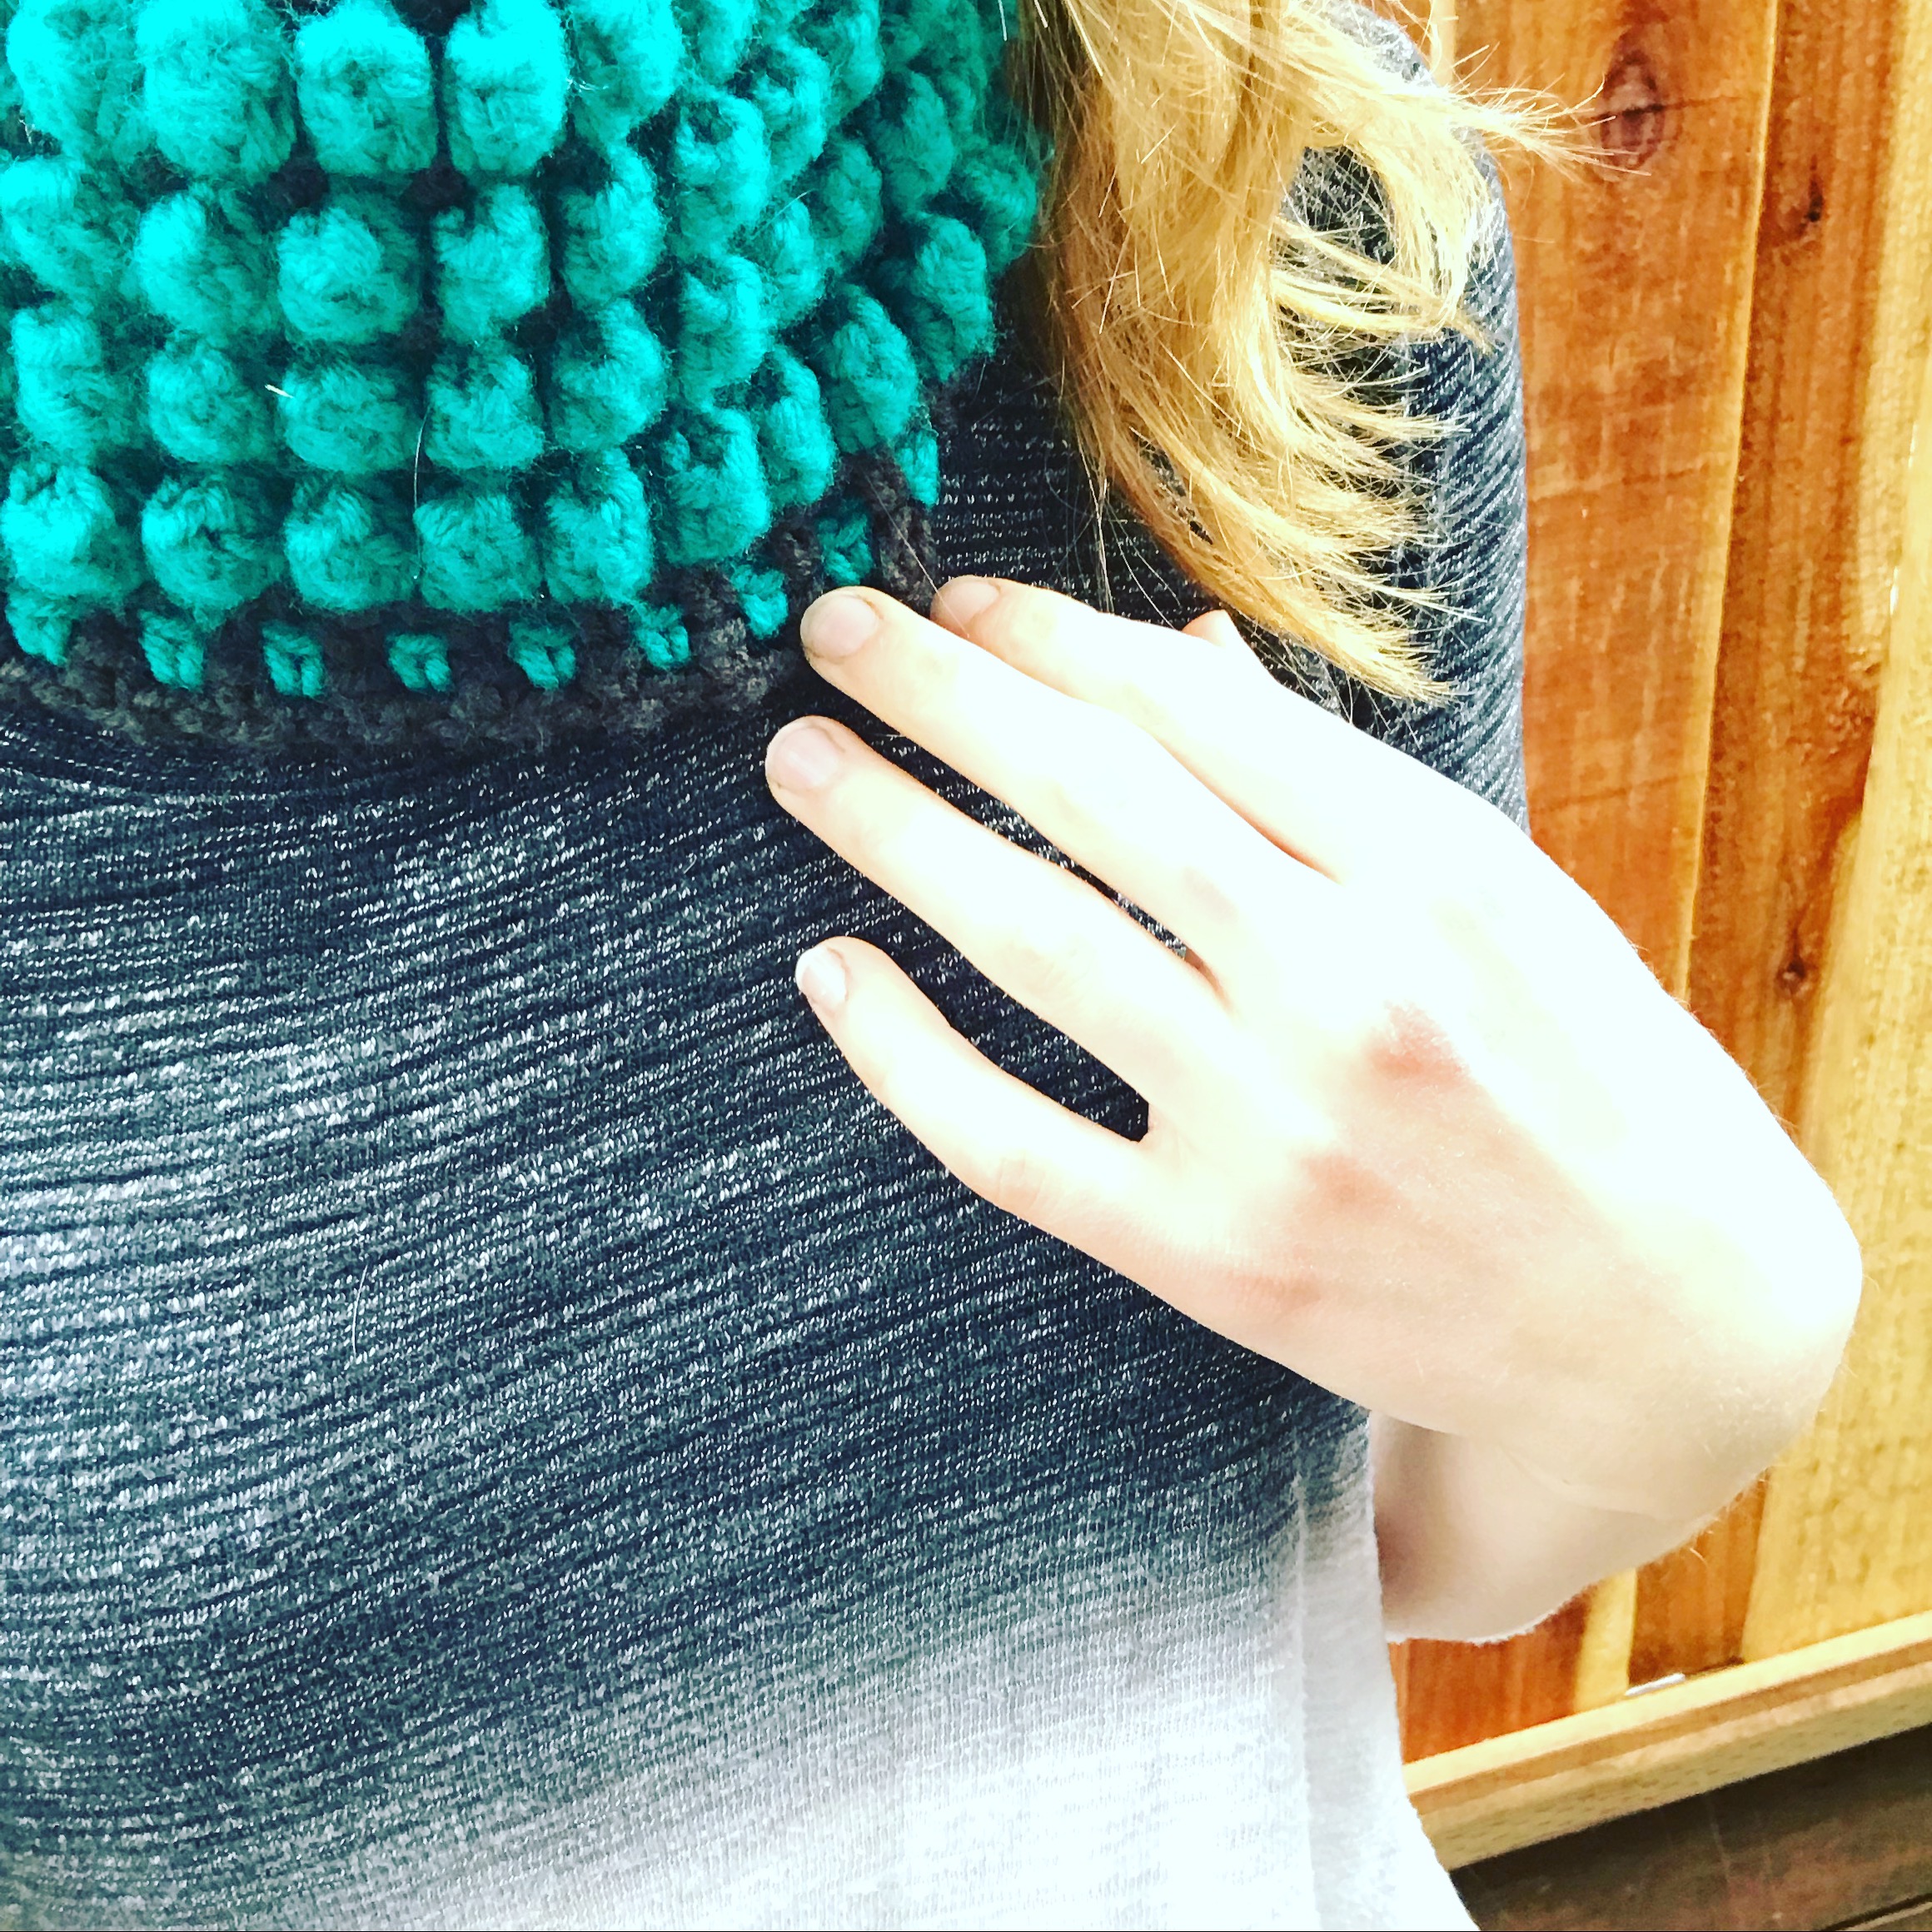
switch to primary color, pull through loop (counts as 1 ch), ch 2 (counts as first dc), make 4 dc in same sp, remove hook and insert through top of first st, then behind the work through the top of the last dc and pull loop through (this is also known as a popcorn stitch*), ch 1, *make a popcorn st with 5 dc in next ch sp, ch 1, repeat from * around, then sl st to join in top of starting ch (should have 46 bobbles)
ROW 7:
switch to accent color, pull through loop, ch 1, *sc in next ch sp, ch 1, repeat from * around, sl st into starting ch to join
ROW 8-15:
repeat rows 6 & 7 four times
ROW 16:
continue in accent color: ch 1, *sc in first ch sp, ch 1, repeat from * around, ending on a ch, sl st into first sc to join
ROW 17:
switch to primary color, ch 2, sc in second ch sp from hook, *ch 1, sc in ch sp, repeat from * around, sl st into starting ch 2 to join
ROWS 18-19:
repeat directions for row 16 and 17 in accent color only, repeat row 16. Finish off, weave in ends.